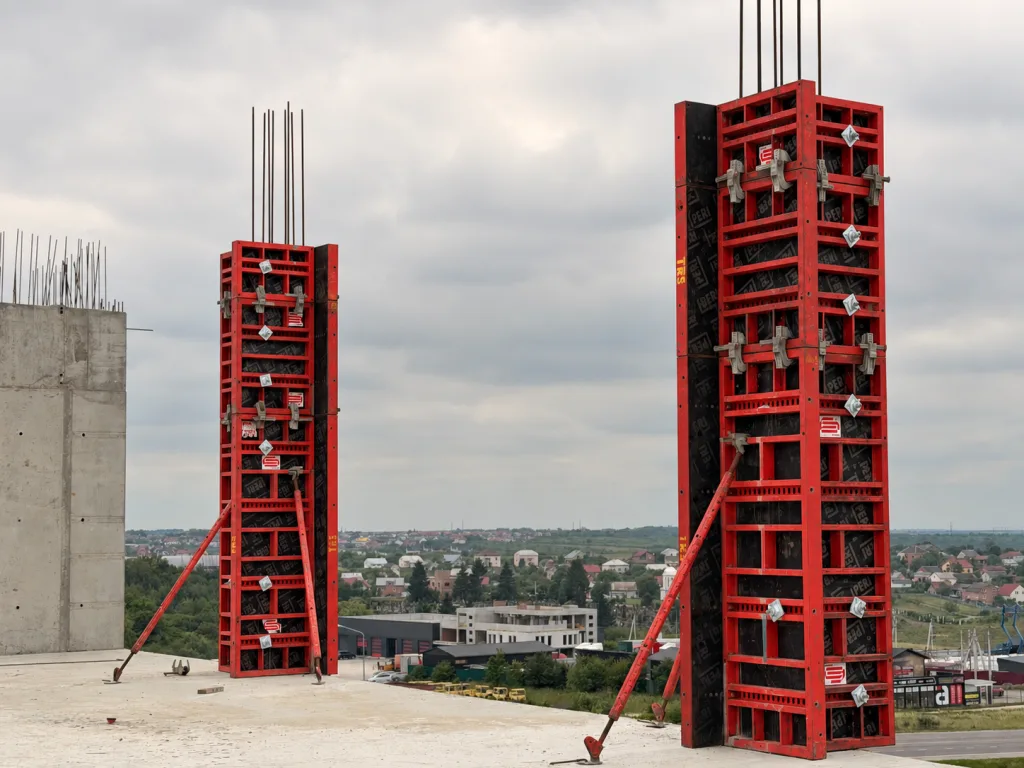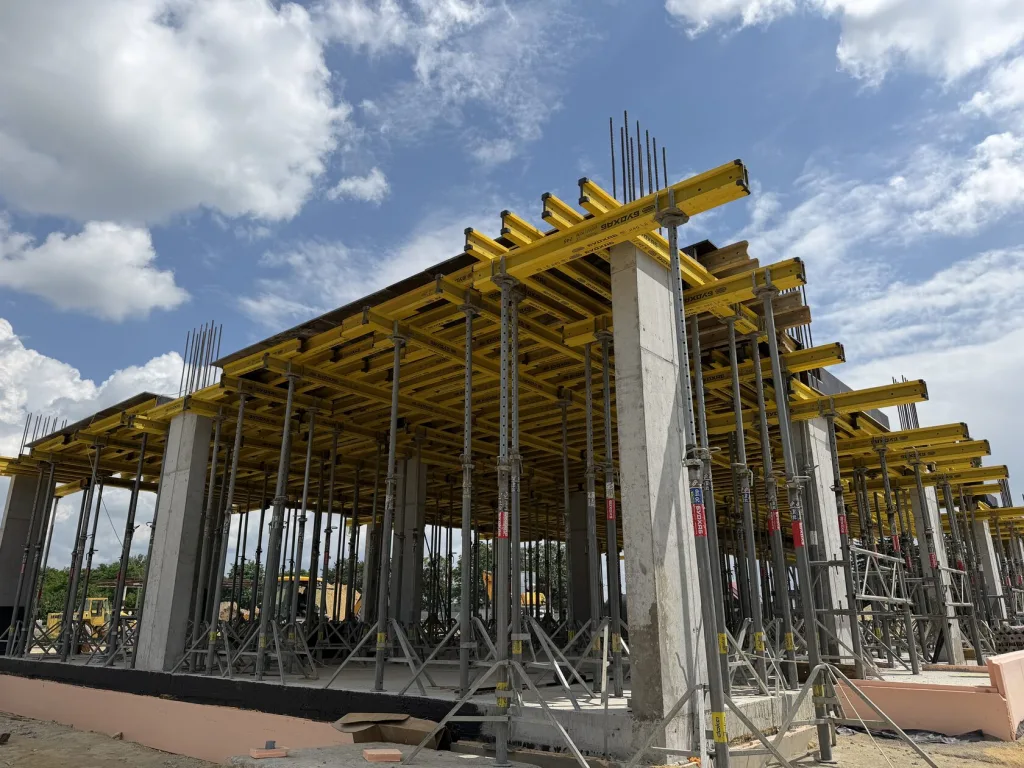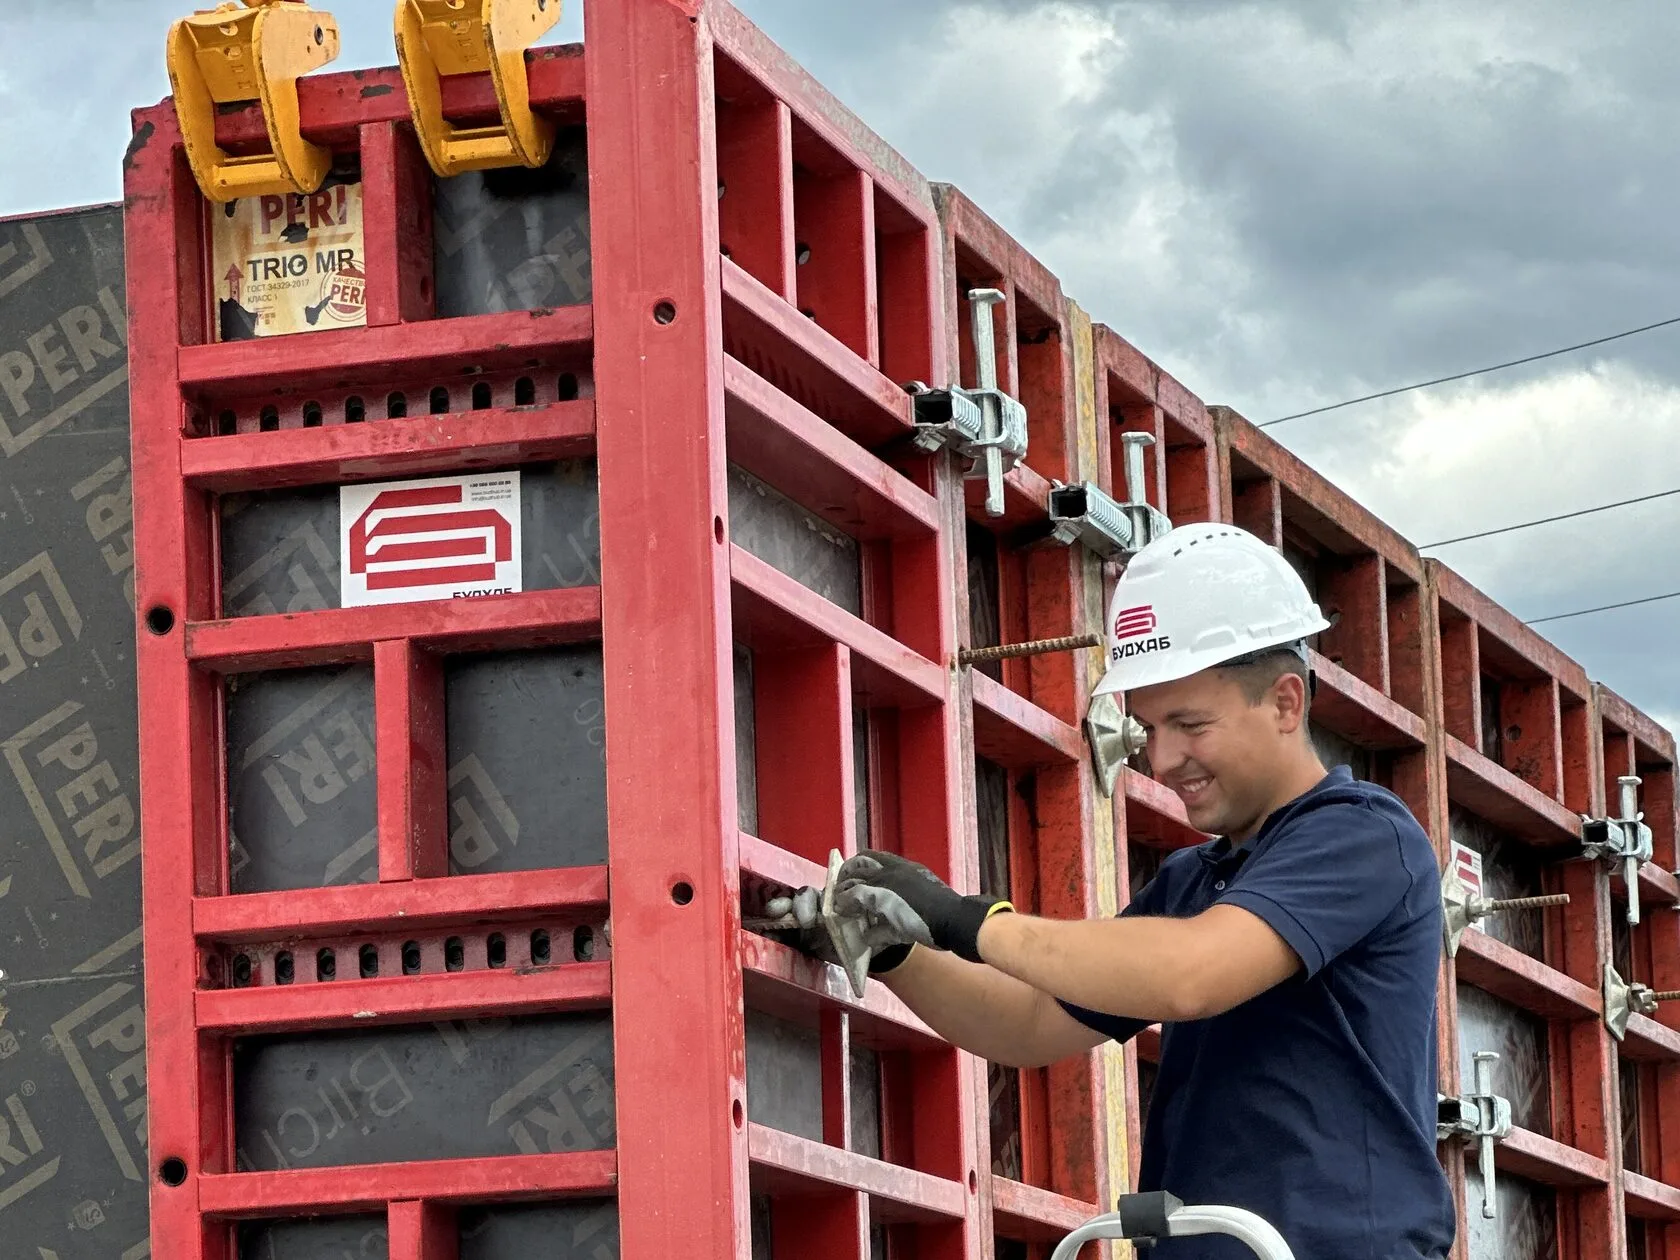
In this article, we’ll walk you through the step-by-step process of framing and assembling framed formwork—from preparing the components and drawings to setting up the push-pull props, trimming, and installing working brackets—as well as provide practical tips to help you avoid mistakes and increase the speed and safety of working with wall formwork.
Introduction to Wall Formwork Components
Before beginning formwork assembly, make sure you have the design drawings prepared by the supplier’s engineering department or an experienced specialist, and familiarize yourself with the main components of the wall formwork. This will help you avoid mistakes in the dimensions and placement of the elements.
Main components of the system:
- Forms (TRS, TRM, etc.) — shape the concrete surface and define the wall's geometry
- Corners (internal and external) — for properly joining walls at a 90° angle
- Spacers (metal or wooden blocks) — for adjusting lengths and easy disassembly
- Formwork ties, PVC pipes, and cones—they ensure the wall thickness and hold the formwork panels in place during concrete pouring
- Push-pull props — stabilize the structure and allow the position of the panels to be adjusted vertically
- Brackets — create work platforms for concrete pouring
- Crane loops — for safe lifting and moving of panels
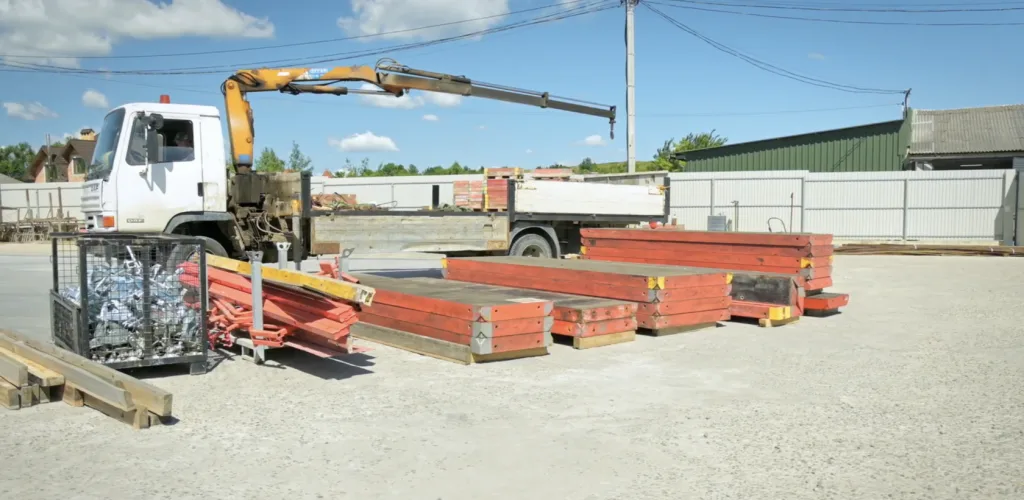
Step 1. Start installation from the corner
Installation always starts at the corners. For convenience, you can assemble a “frame”—consisting of several panels with beams and a corner—on a level surface beforehand, and then lift it into place using a crane.
- Take a 120-cm board and attach it to the inside corner using a 5-cm strip.
- Drill holes in the beam for the tie rod (Ø ~25 mm) at the same level as the holes in the panels so that the tie nut applies even pressure to both panels.
- Connect the components using three locks, secure the crane hinges, and position them as specified in the design.
- Before disconnecting the crane loops, be sure to install push-pull props—either permanent or temporary.
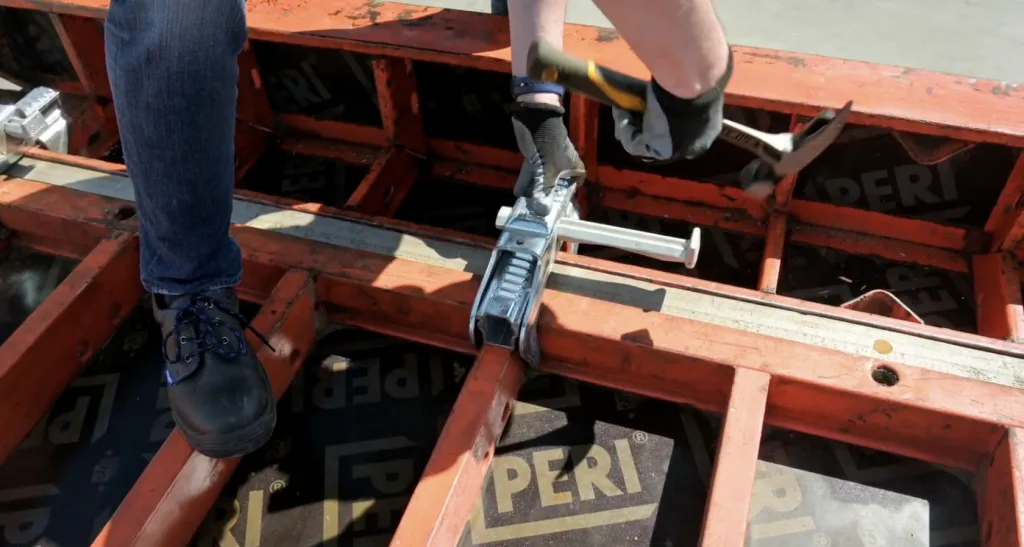
Installation from the corner
Step 2. Installing the indoor circuit
After installing the first corner, we move along the wall and install the panels according to the drawings.
- Inserts and panels: We recommend using the metal inserts provided by the formwork system manufacturer (a standard component of the kit) or wooden beams that can be cut to size. Wooden elements are particularly useful in places where it will be difficult to remove metal after concrete pouring.
- Example: Start by adding a 72-cm panel with a 5-cm metal insert to the corner, followed by the 120-cm and 60-cm panels, and then the LA insert for a precise fit.
Assemble the next “panels” of the shields horizontally, then lift them with a crane.
Install the inner circuit completely, and then move on to the outer one.
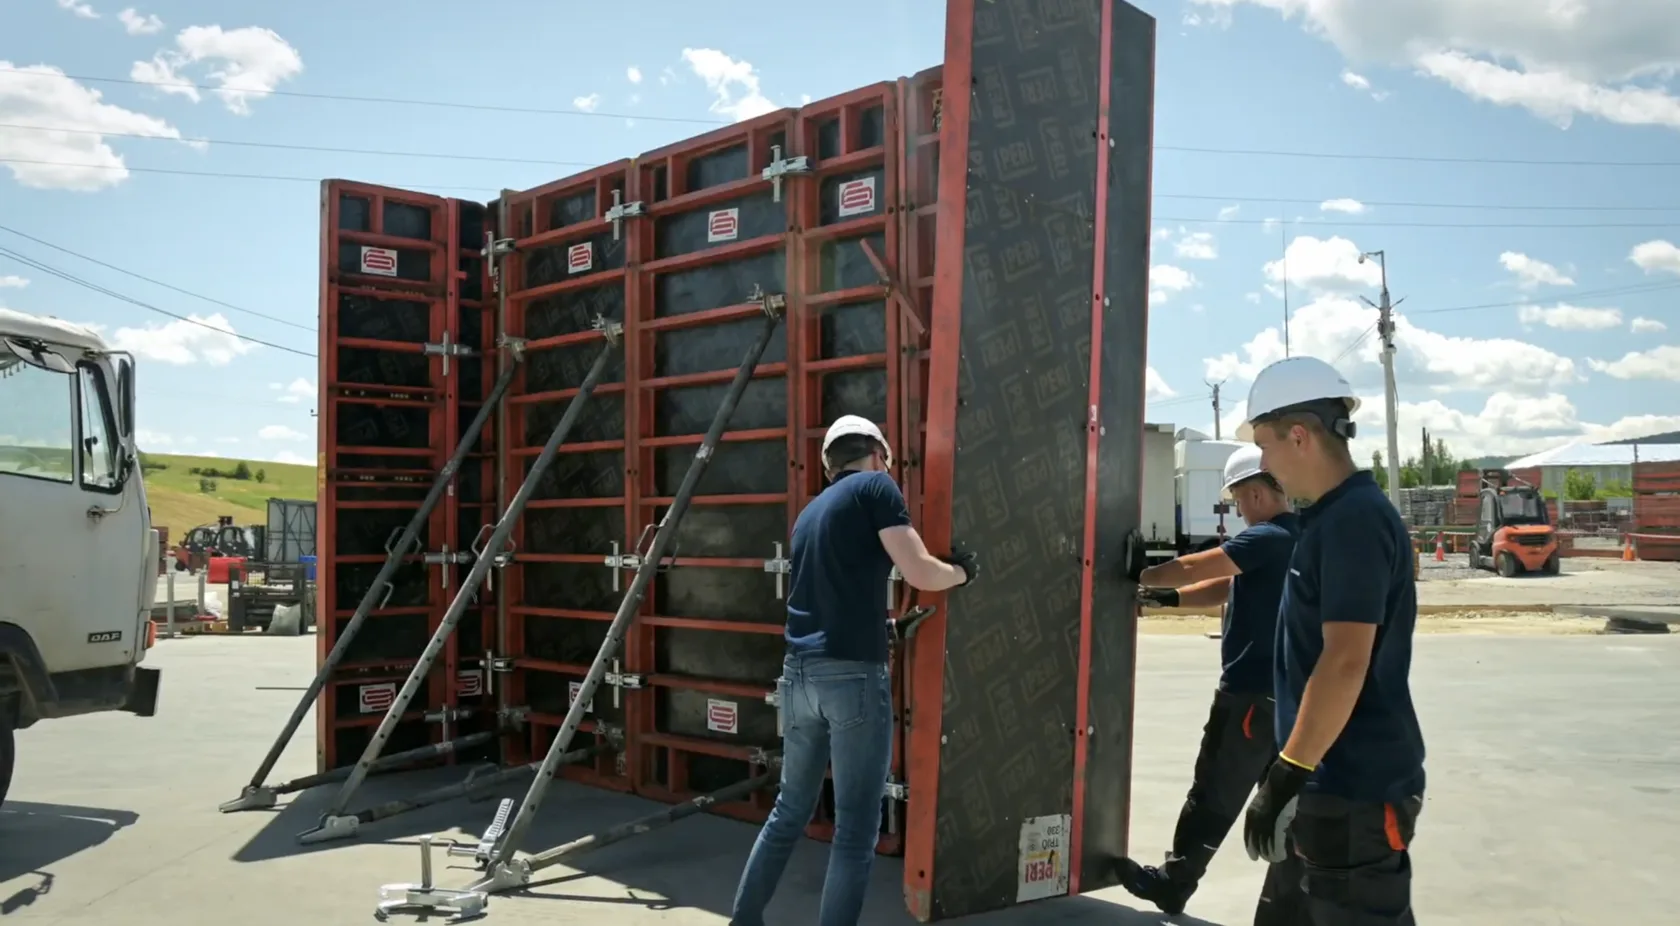
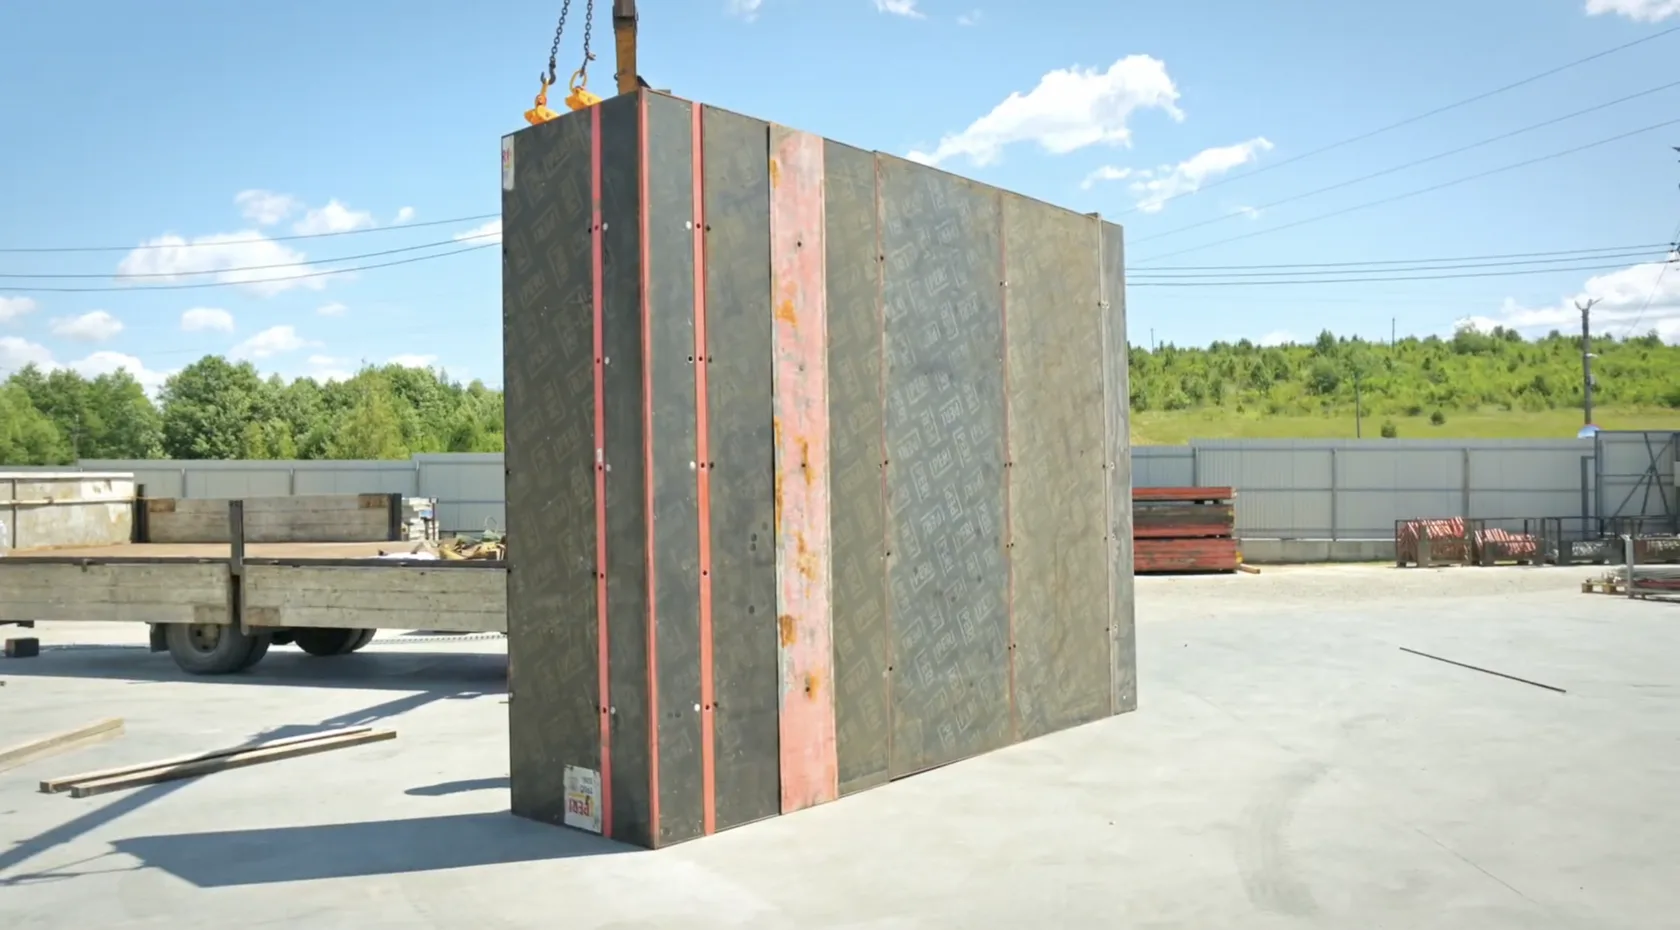
Step 3. Preparing the ties and tubes
Before installing the outer circuit, we install PVC pipe and cone connectors in all openings of the interior panels. These are:
- measures the wall thickness
- prevents concrete from sticking to the screed
- makes removal easier
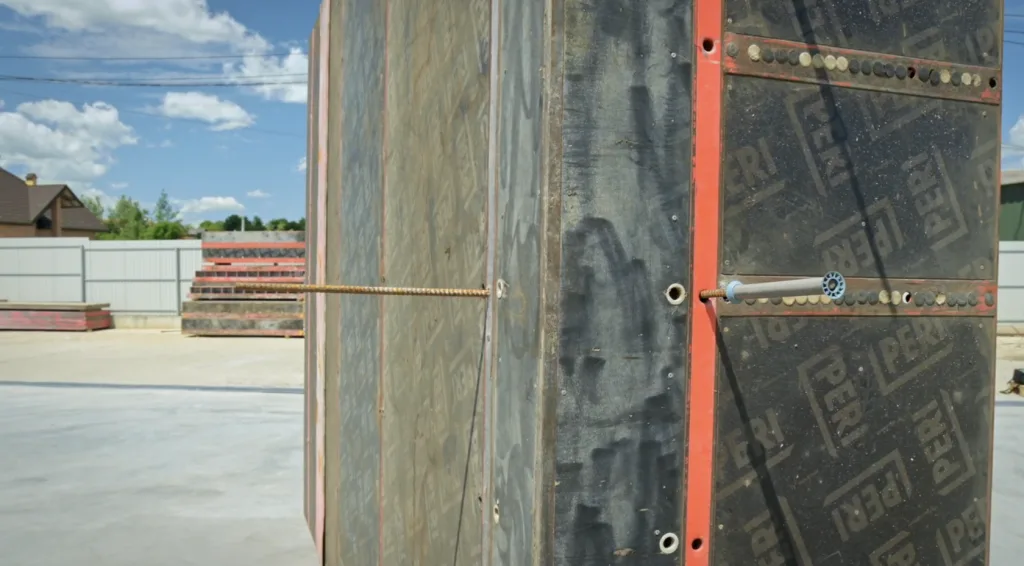
Step 4. Installing the outer loop
The exterior can be installed using “panels” or individual sheets.
- Let's start with one side: for example, a 72-cm panel + a 60-cm panel, then an outside corner (72 cm + two 120-cm panels).
- After installing each panel, immediately insert the tie rod into the corresponding hole and secure it with a tie nut.
- Remove the crane slings after connecting the outer panel to the inner panel and positioning the push-pull props.
- Adjust the vertical position using the push-pull props: the upper part controls the tilt, and the lower part controls the forward/backward movement.
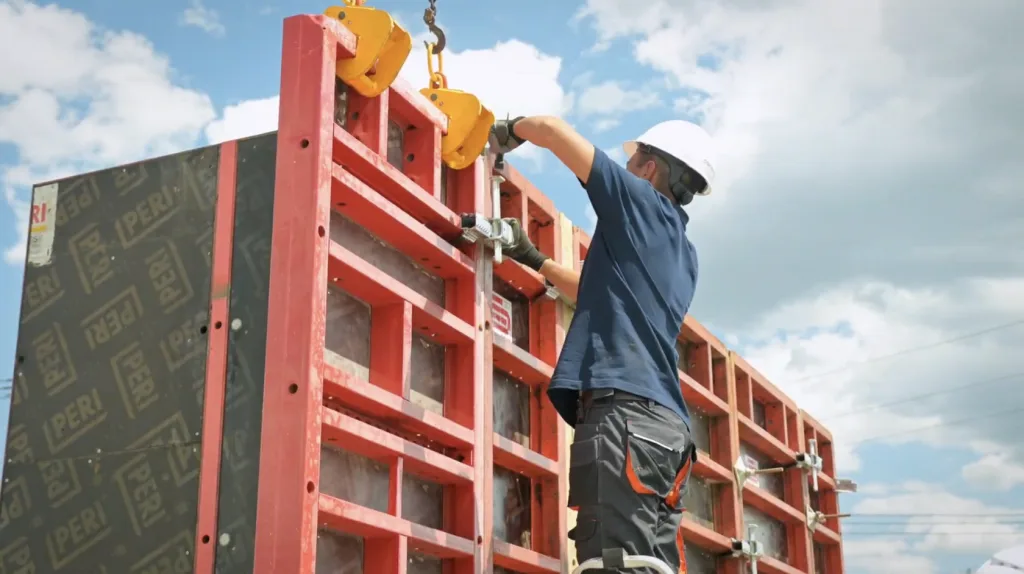
Step 5. Trimming
We chamfer both sides of the wall to prevent concrete from leaking out:
- Option 1: Use a TRM plate to embed the tie rod into the concrete (no need to drill into the beam).
- Option 2: Use a standard panel—in this case, the tie rod passes through the beam, so we drill holes in it beforehand.
- Place the beams against the TAP rail and secure them with cross-braces.
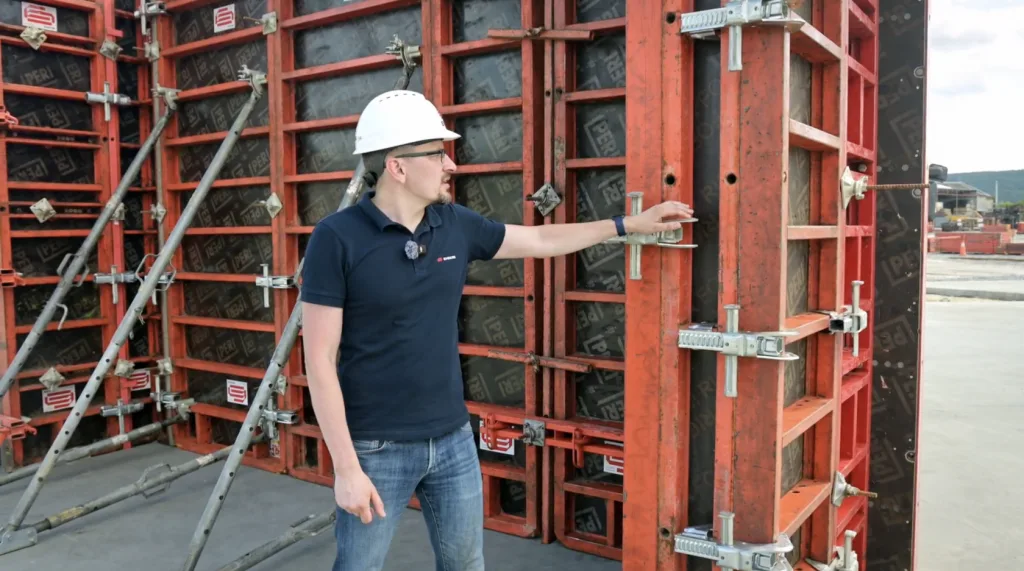
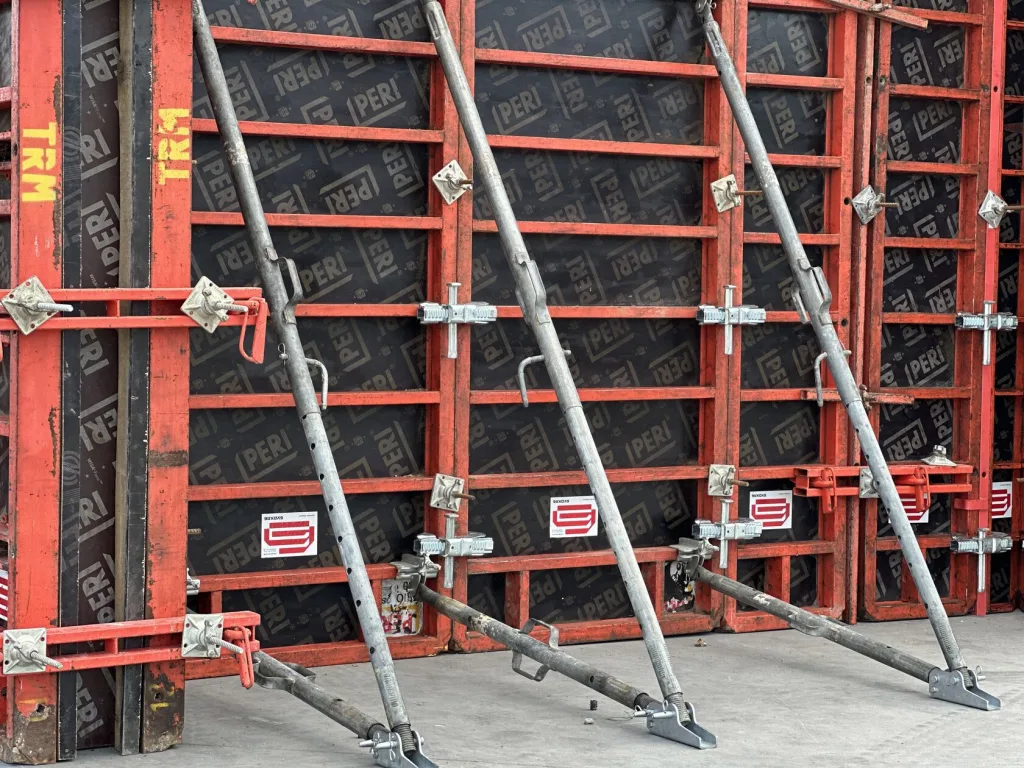
Step 6. Installing the push-pull props
Push-pull props can be installed:
- before raising the shields (in a horizontal position)
- after the shields have been placed vertically
Attach the strut to the panel using the hook-on head, adjust its length, and secure the base to the foundation with a spreader bolt. The spacing between push-pull props should not exceed 3 m.
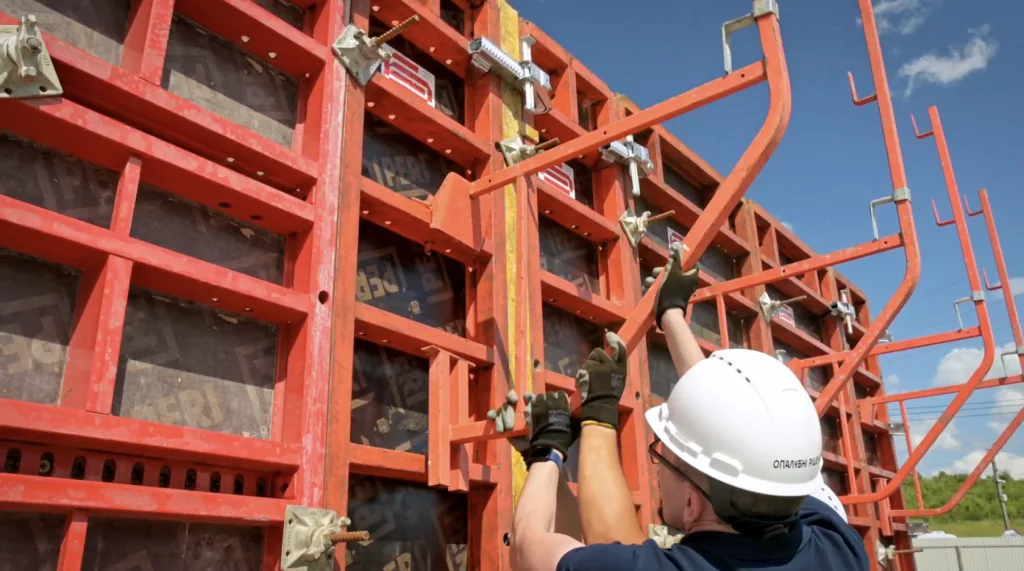
Step 7. Installing the brackets
The brackets are installed in special holes on the formwork panels, both on the horizontal and vertical ribs. They provide a work platform for concrete pouring.
Final inspection before pouring concrete:
- All tie rods are tightened and secured
- The push-pull props are installed and secured
- The brackets are securely fastened
- The geometry of the walls matches the drawings
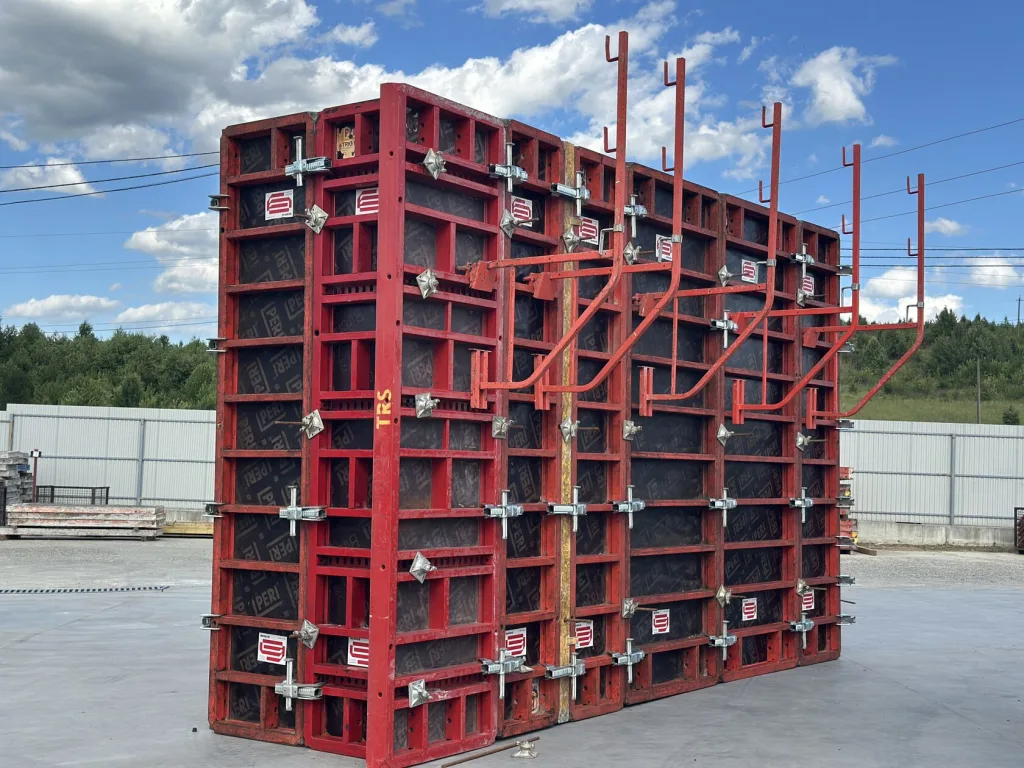
Following these steps ensures a reliable, safe, and precise wall formwork system.
See also our detailed video guide on wall formwork assembly. In it, we walk you through the entire process step by step and share practical tips that simplify the work and help you achieve precise wall geometry.
We hope you found these installation instructions helpful. At Budhub, you’ll receive wall formwork tailored specifically to your project, taking into account all structural and technical details.
For consultation and a cost estimate, please call
+380 98 800 22 88