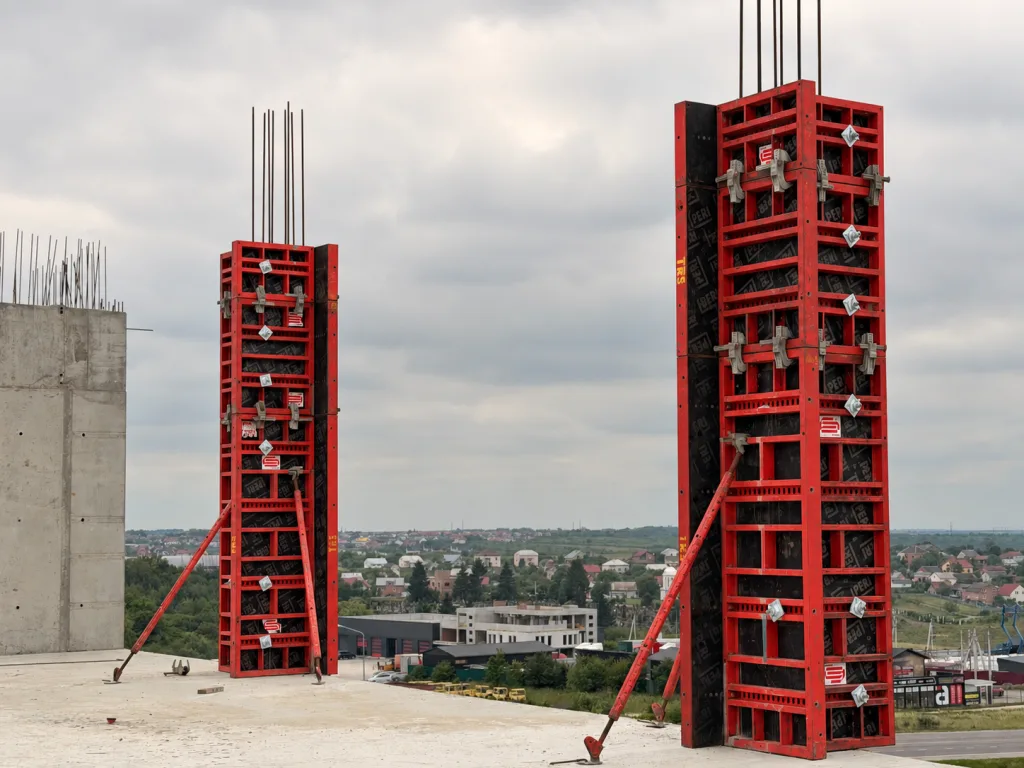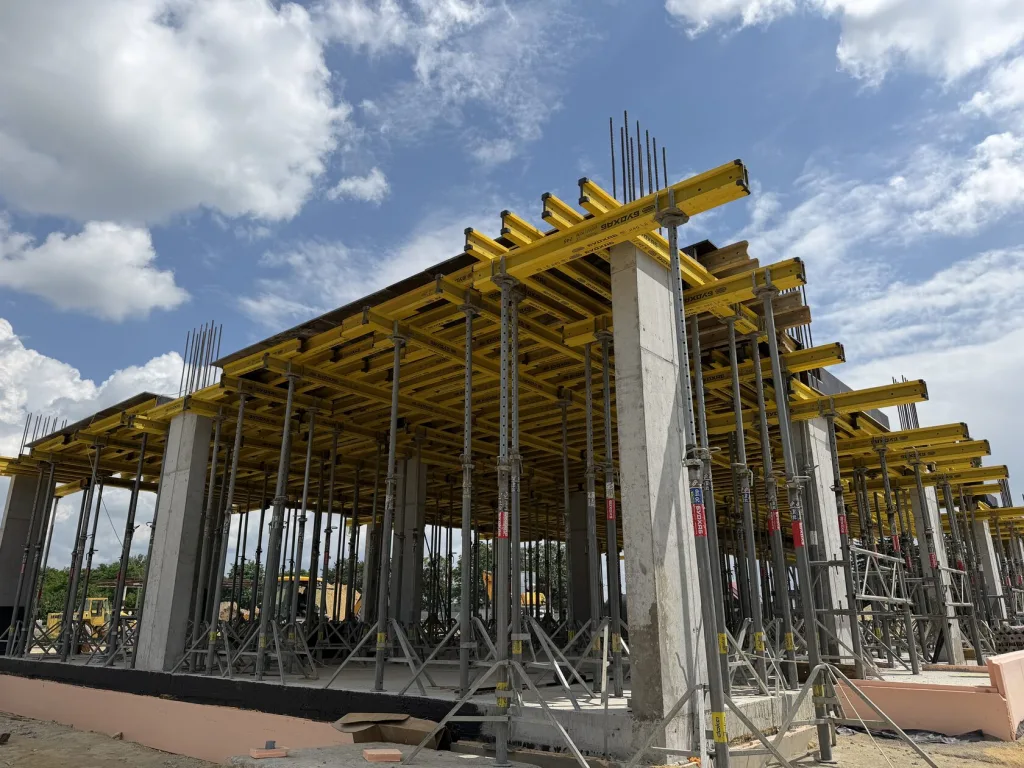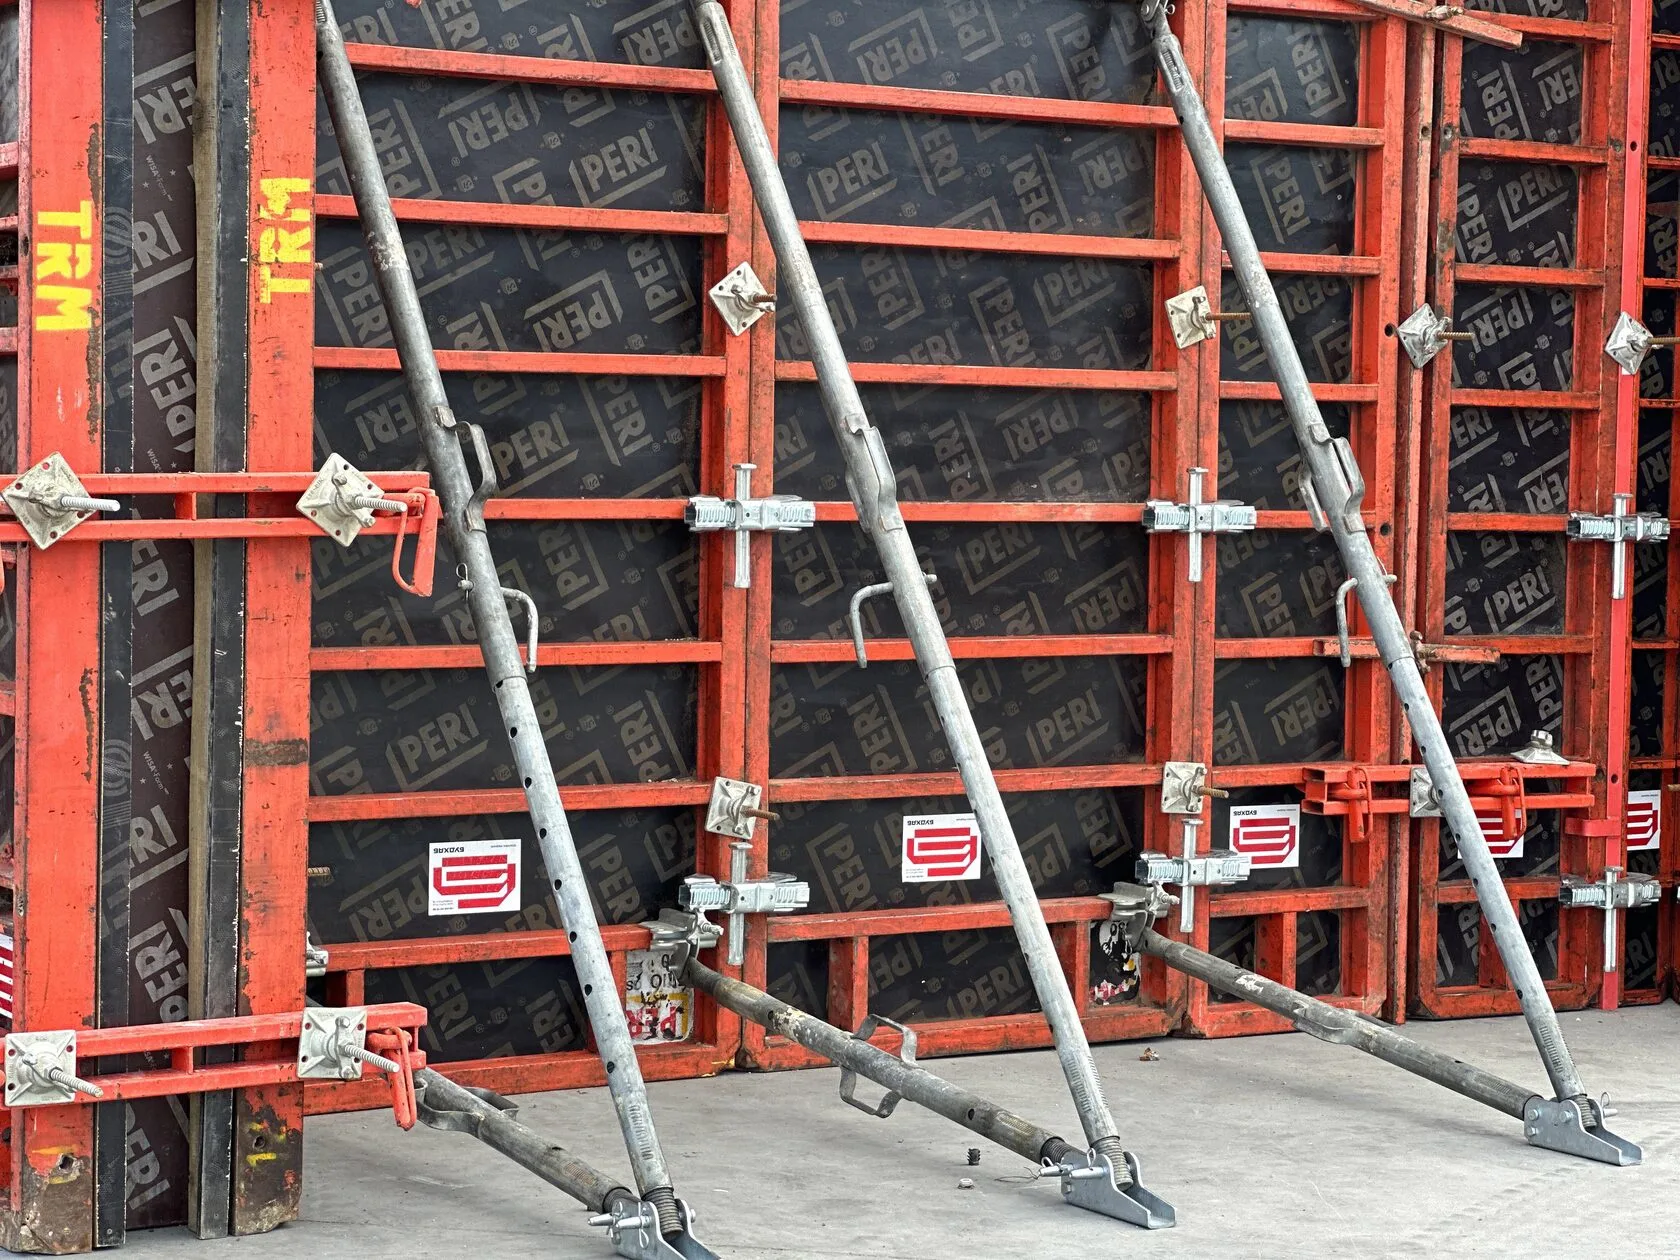
Push-pull props are components that ensure the stability and proper alignment of framed formwork panels. Their correct installation is crucial for maintaining the structure’s geometry and ensuring safety during concrete pouring.
In this article, we will go over the steps for installing push-pull props and share practical tips to help you avoid warping and ensure that the panels are securely fastened.
Step 1: Getting Familiar with the Elements and Tools
Make sure you have everything you need:
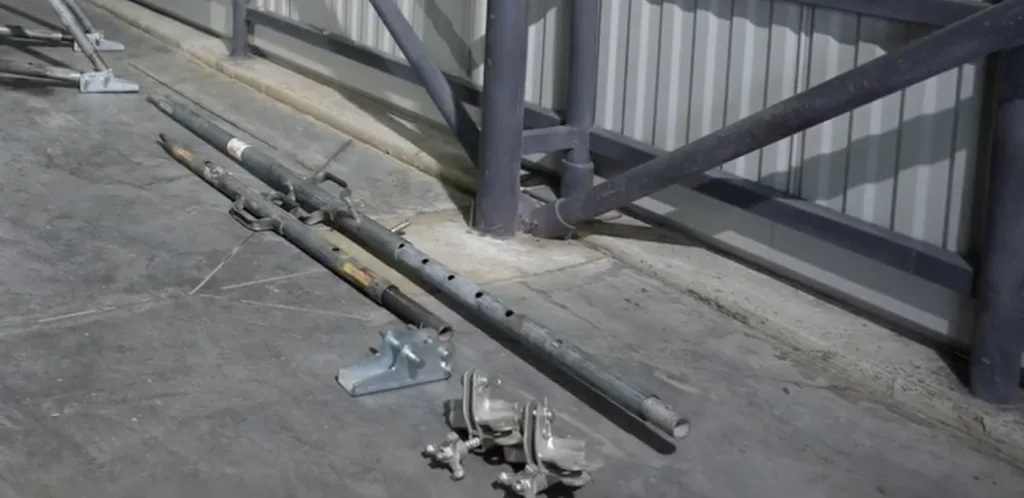
- 2 clamping heads for push-pull props
- 2 push-pull props (1 long, 1 short)
- the heel of the instep
- anchor for securing the heel to the base
- fingers with retaining pins (at least 4)
- a shield with vertical ribs
- a tape measure or a ruler
- a hammer or installation tool (if needed)
Step 2. Installing the mounting heads
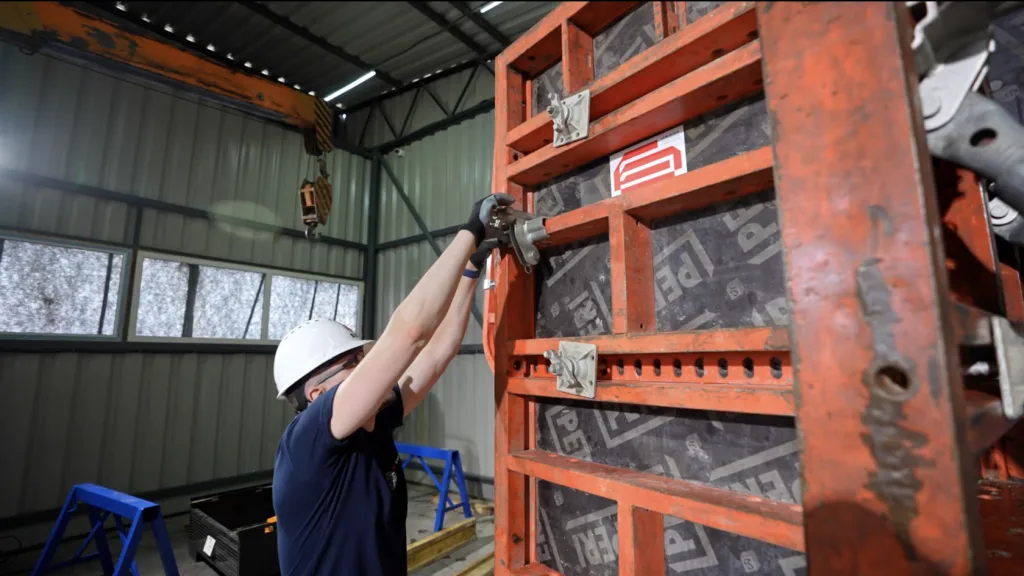
1. Determine the mounting locations for the coupling heads on the panel using the ribs as a guide:
- Top attachment point—on the third rib from the top (no lower)
- Lower engagement head — on the first rib from the bottom
2. Secure both heads to the panel.
Step 3. Attaching the push-pull props to the panel
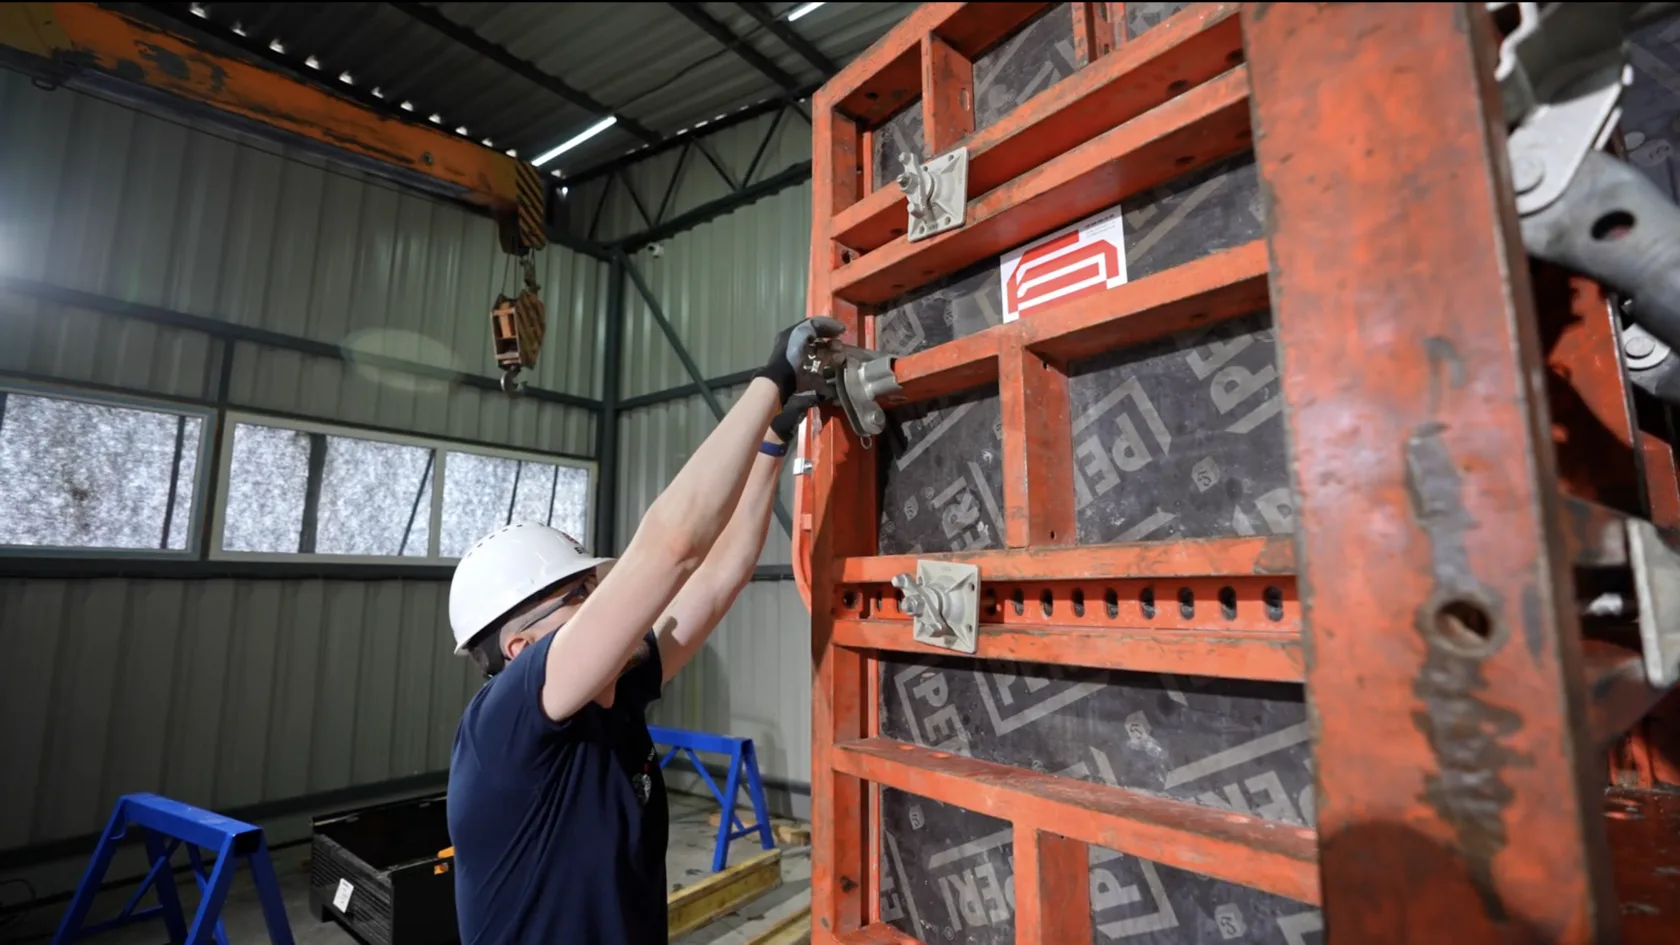
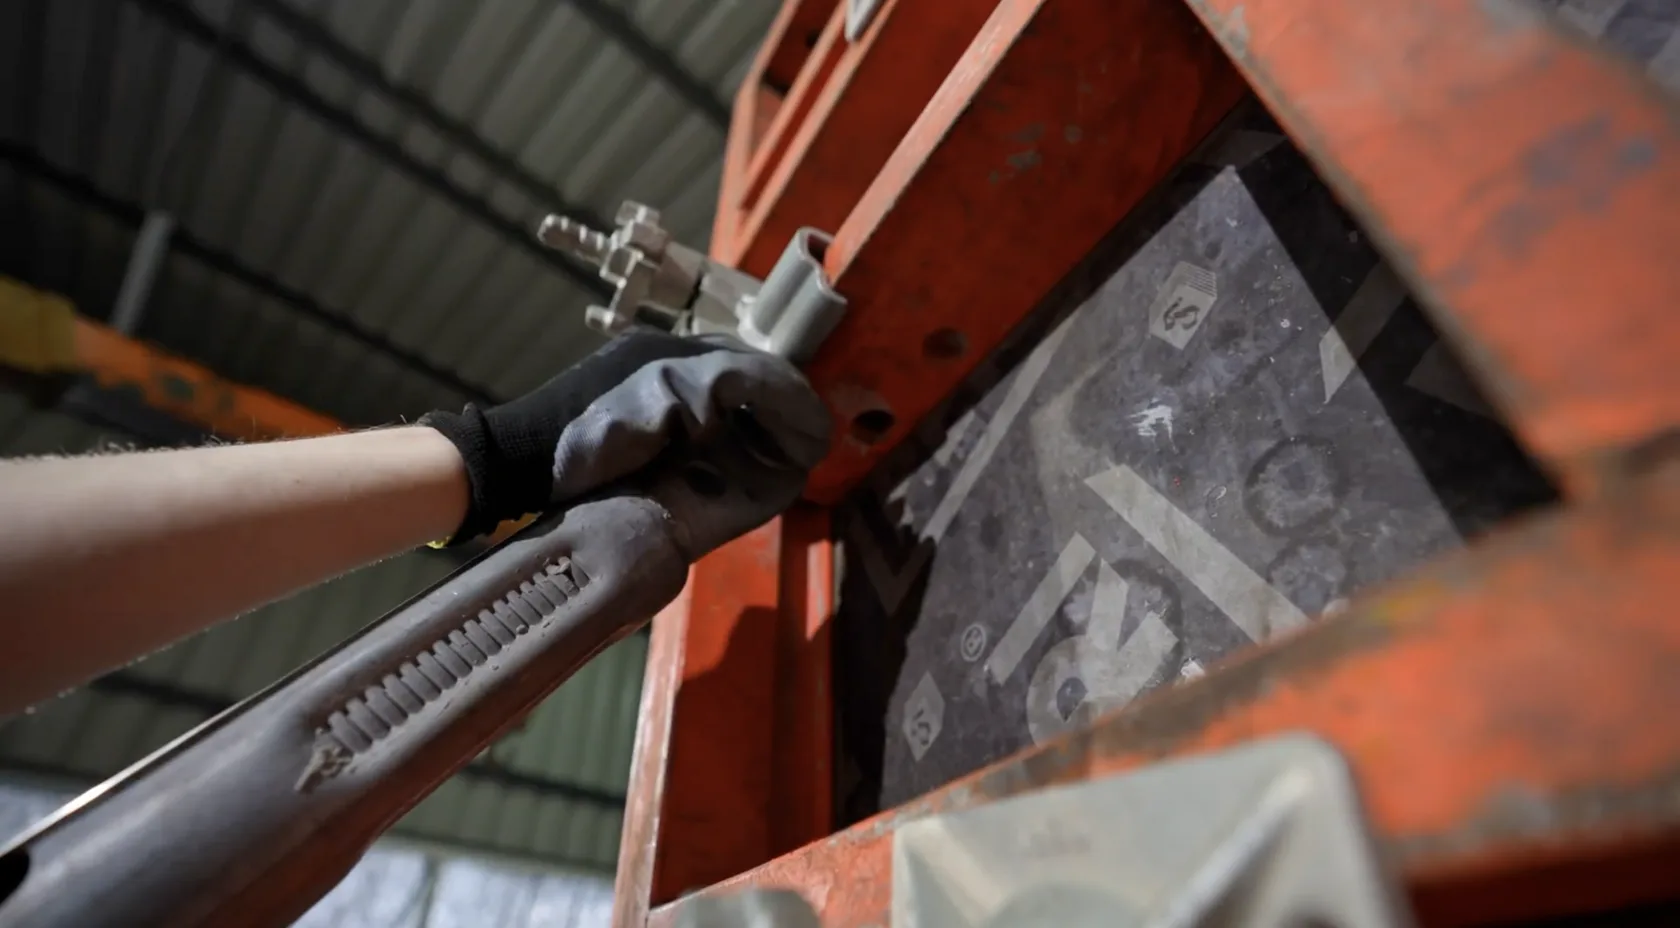
Attach the push-pull props:
- The one for the upper engagement head is longer.
- The one connected to the lower coupling head is shorter.
Step 4. Determining the position of the heel
- For panels that are 2.70–3.30 m high, position the base approximately 1.5 m from the wall.
- Mark the spot for the heel on the sole.
Step 5. Attaching the push-pull props to the panel
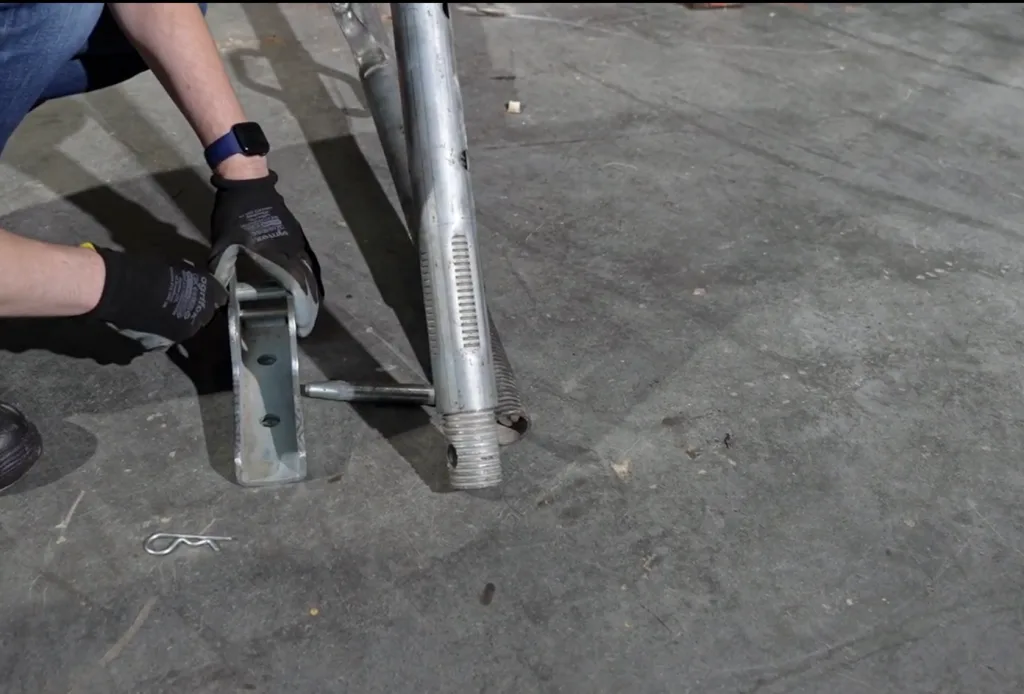
- Insert the short piece into the first hole in the heel, and the long piece into the second.
- Use the pins with locking pins: pull out the locking pin, insert the pin into the hole, and secure the locking pin.
Next, secure the heel to the base using an anchor.
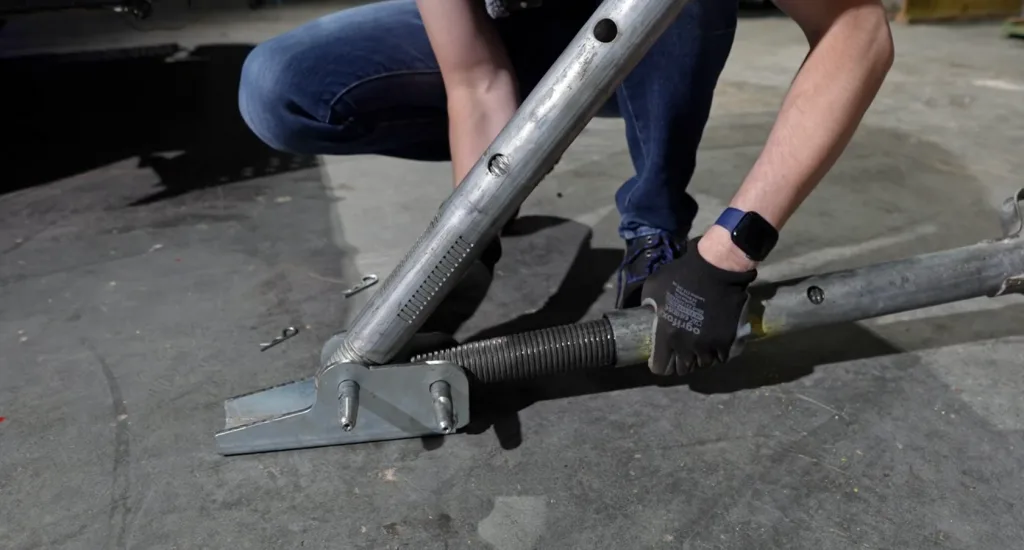
Check that all connections are secure.
Properly installed push-pull props hold the formwork in its intended position, prevent it from shifting during concrete pouring, and help maintain the formwork’s vertical alignment.
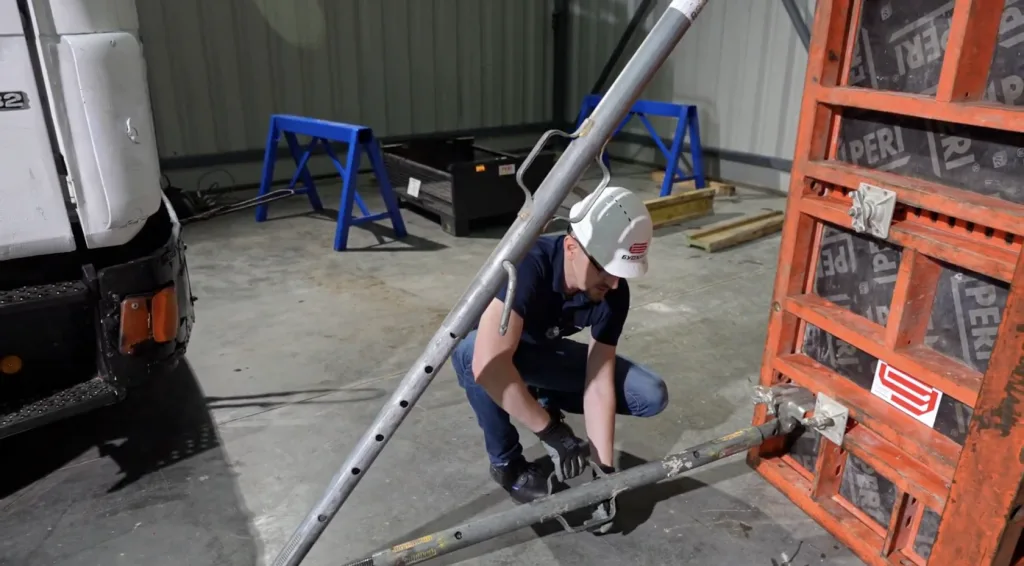
See also our detailed video guide on installing wall push-pull props for framed formwork. In it, we demonstrate all the installation steps, explain the correct positioning of the components, and share tips to help you securely fasten the formwork panels in their intended position.
These instructions for installing push-pull props will come in handy when working on any construction site.
At Budhub, you’ll find push-pull props, brackets, and other wall formwork components tailored to the specific requirements of your project to ensure precision and structural stability.
To select equipment and get a quote, please call the following number:
+38 098 800 22 88