Which formwork panels are suitable for columns, and which ones for pilasters? How do you install a 2.7-meter-high column, and what methods are used for pouring tall columns? In this article, we’ll walk you through the steps of installing columns and pilasters, explore pouring techniques, and discuss the most common mistakes made during pouring and how to avoid them.
Columns up to 2.80 m high
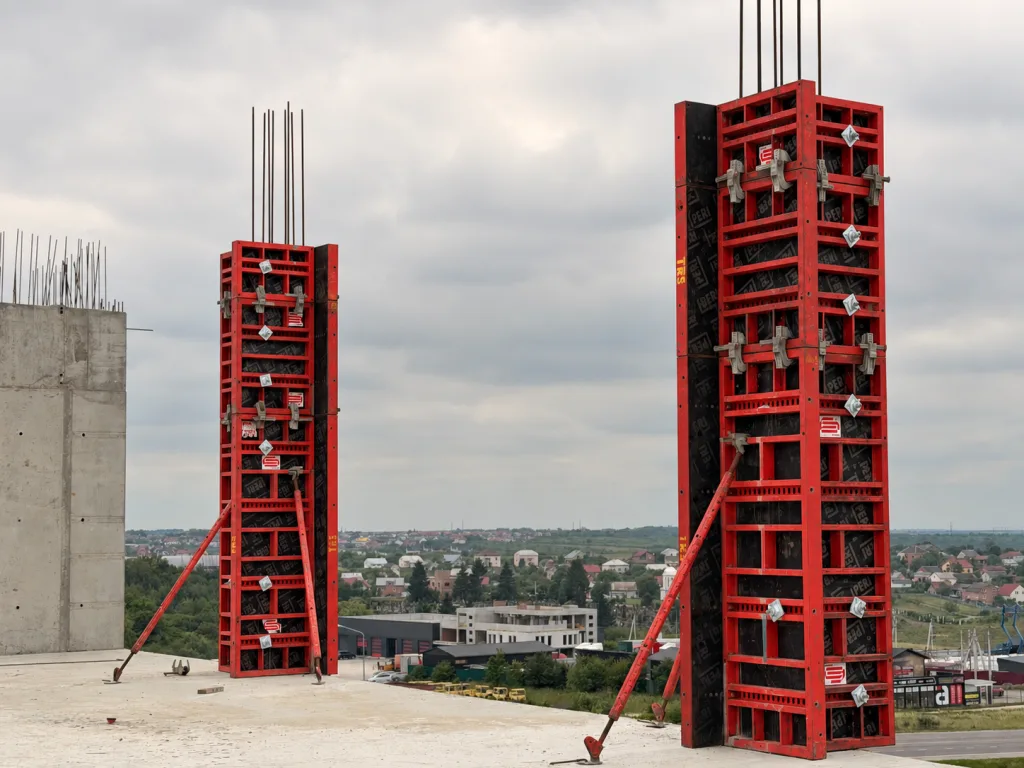
In residential construction, you will most often encounter square columns and pilasters. Square columns are typically 400 x 400 mm in size and 2.700 m or 2.800 m in height. To install these columns, four framed formwork panels measuring 2,700 x 900 mm are used, along with additional components (locks, plumbing struts, footings, etc.).
This column formwork kit is versatile, so you can use it to build square columns of various sizes—from 25 x 25 cm to 75 x 75 cm in 5-cm increments. The panels are mounted crosswise in a “windmill” pattern and secured with bolts and tie nuts.
The rental cost for column formwork depends on its condition and the manufacturer. On average, it is 300 UAH per day for a 3-meter-high column.
Pilasters
A pilon is essentially the same as a column, but rectangular in shape. Pilasters are more common in residential construction because rectangular load-bearing vertical elements blend more harmoniously into the architecture of an apartment, for example. Standard pilaster dimensions are 250 x 900 mm, 250 x 600 mm, and 250 x 1200 mm, meaning the pilaster’s thickness matches the wall’s thickness, while the width depends on the load it must bear. Heights of 2,700 mm and 2,800 mm are standard for typical residential buildings.
Pilasters up to 900 mm wide, just like square columns, can be assembled using four framed formwork panels measuring 2,700 x 900 mm and universal components. The rental cost of a pilaster formwork set will be equivalent to the rental cost of a 400×400 mm square column formwork set, for example, since the same formwork panels and the same number of components are used.
For pilasters that are 1.2 meters wide, it is advisable to use large-format billboards that are 3 or 3.3 meters tall—these dimensions will best match the structure’s specifications.
Columns with a height of 2.8 m or more
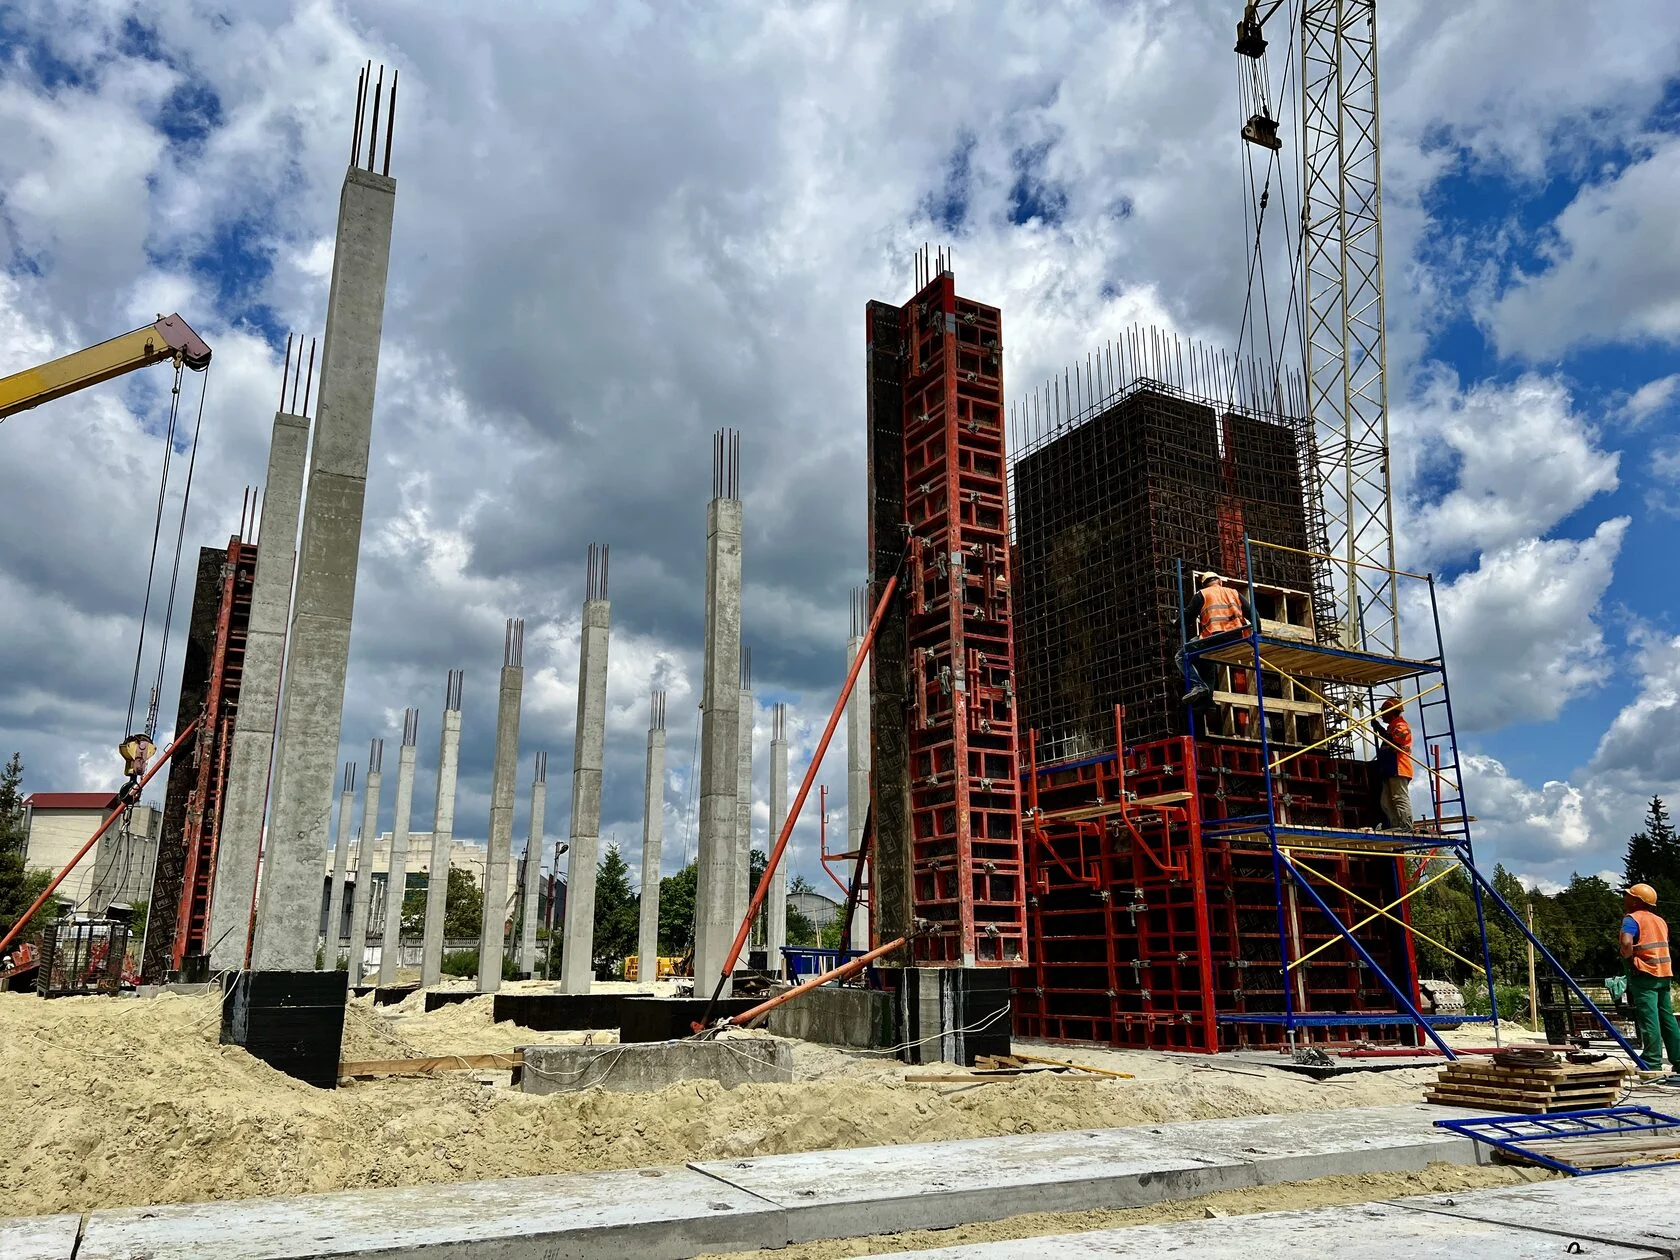
To perform formwork assembly for columns in commercial buildings with heights of 3.5 m, 4 m, and 4.5 m, you must select additional formwork panels—smaller-sized panels—in addition to the standard formwork elements. The height of the supplementary panels is 0.6 m or 1.2 m.
The most common standard elements of column formwork are 2.7-meter-high formwork panels. By combining such a panel with a 1.2-meter extension panel, you will get a 3.9-meter column, which is the ideal column height for commercial spaces in multi-story residential buildings.
For 4.5-meter columns, which are often used in shopping centers, you can use a 2.7-meter panel, a 1.2-meter extension piece, and another 0.6-meter extension panel.
If the project calls for even taller columns, for example, 5.1 m, then a 2.7 m panel and two 1.2 m extension pieces are often installed.
To ensure the stability of columns taller than 4.5 m, longer plumbing struts must be used.
Please note that at Budhub, we offer equipment capable of casting columns of any configuration with heights ranging from 2 m to 10.4 m.
Step-by-step installation of columns
We’ve already discussed which formwork panels and components to choose for pouring different types of columns. So, let’s move on to the installation process.
Here’s a step-by-step guide to assembling column formwork for pouring a standard column in residential construction—2.7 m high, 0.75 x 0.75 m wide. We’ll use Peri Trio TRS column formwork panels as an example.
We will need: 4 TRS 270×90 panels (where 270 cm is the height, 90 cm is the width); 16 bolts;
16 tie nuts; 3 push-pull props (RS or RSS series)—ideally: 2 in one direction, 1 in the other; to save on materials—you can use 2, one in each direction; auxiliary components: AV-210 strut, clamping head.
First, we form “half” of the column:
- Place the first panel, with the plywood side facing up, on the trestles and mark the desired column width (in our case, 75 cm).
- Place the second panel perpendicular to the end of the first one. Since all the holes in the panels are covered with special “plugs,” first remove the “plug” from the hole where you will be inserting the bolt.
| Hole number | Column height, cm |
|---|---|
| 5 | 20 |
| 6 | 25 |
| 7 | 30 |
| 8 | 35 |
| 9 | 40 |
| 10 | 45 |
| 11 | 50 |
| 12 | 55 |
| 13 | 60 |
| 14 | 65 |
| 15 | 70 |
| 16 | 75 |
3. Align the holes in the panel frames and secure them with bolts and Tie nuts. This will form an L-shaped structure (one half of the column).
4. Repeat the same process to form the second “half” of the column.
5. After forming the first L-shaped structure, attach the plumbing struts to it (as shown in the diagram). Set it upright, wrapping it around the column and securing the plumbing struts to the foundation (concrete).
Important: The structure must already be secured and able to stand on its own safely. Only then can you connect the second L-shaped structure (which may already be assembled) to the first to form a column.
6. Connect the halves together using bolts and Tie nuts. If necessary, immediately secure the push-pull props for greater stability.
That’s it—the column is ready. You can also use additional components, such as formwork brackets to ensure safety during concrete pouring, and scaffolding (fixed or mobile) to make working at heights easier.